The Masters House

All hail, The Masters House. Magnificent, Artists thriving, Gods roaring; Masters House. Home to dozens of studio artists with an independent clothing shop on the first floor.
What was the process from during the modelling phase?
Below here are some of the shots from my work in progresses, although the base modelling screenshots will not be included.


By this point, I was using a displace modifier and a displacement map of a texture to be able to see how things look so it is easier to keep them up to scale and remain with good positioning of all the parts of the model for a realistic finish when the building would be almost complete.
For the attic/roof windows, I had gone with a different design of windows as my other windows on the lower layers of the building are not the appropriate scale for the roof windows and are used with different materials and components. This is to support insulation and also bring in natural daylight to light up dark areas of rooms within the rooms that the attic windows are situated.


This is when the roof construction began. I was uncertain of a starting point because I wanted to get the best scale I could so I went with the part going to the highest point and the lower roof can just go up to the halfway point behind it.
Modifiers used

Showcased here for three options that I used for the columns, and I also gathered feedback from a friend who said that the 3rd option with the slightly detailed square top layer is the best option. The third option, a column not inspired from Roman architects but of my own design was being used as a placeholder and would eventually be replaced by the 2nd option which resembles a cylinder Roman column.
The reasoning of why I replaced the column is I felt like the 2nd option was more complex in design and would leave a better finish in the rundown touches of the final production phase of the building.


I do eventually plan on rendering the textured version of my building when I renew my VRay license.
WireFrame
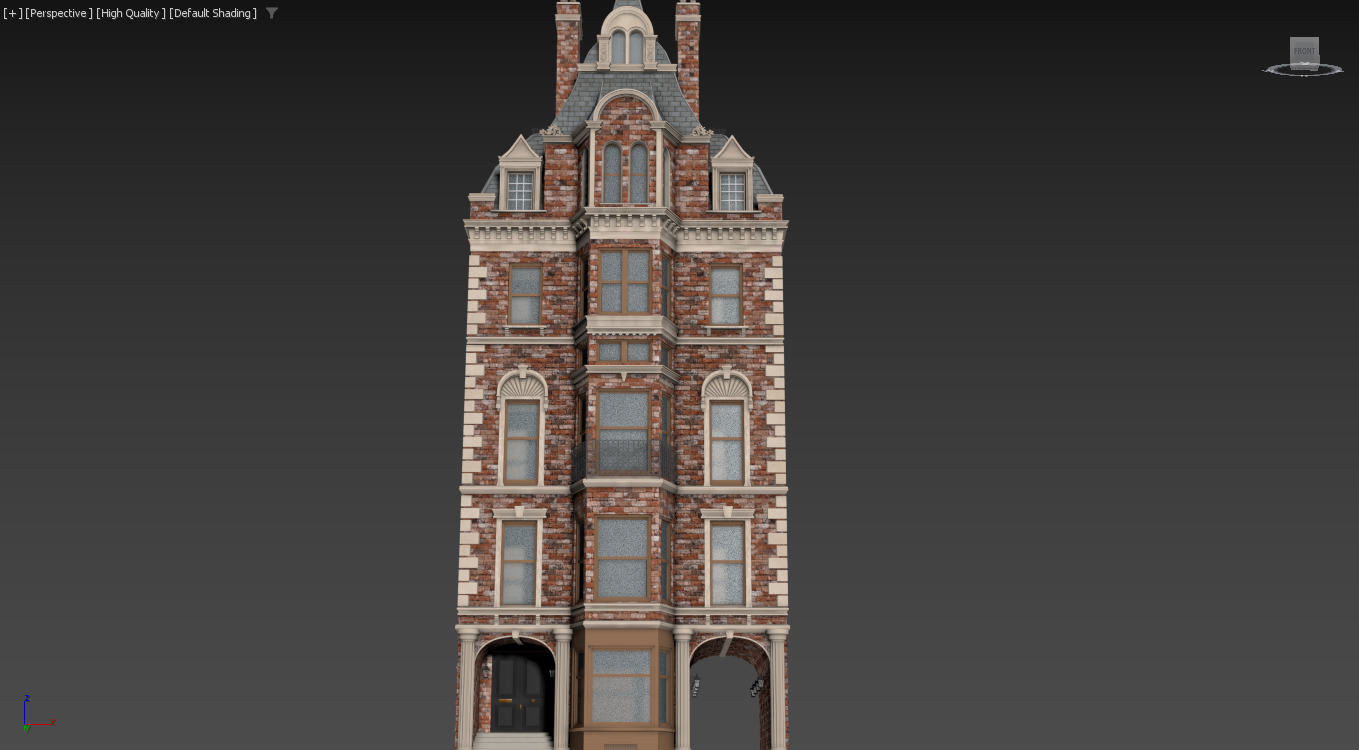
Default Shading
Showcased here is my screenshots of the finishes and work in progresses. I had also done a bit of rendering with the regular scanline renderer in 3DsMax 2024. (This will be updated in due course and rendered with VRay once I renew my license)


From here, I was mostly using the boxes as a boolean inside of the brick wall so that the windows became visible. At this point I had only finished using that tool and mostly pushing them to the side so I can use them once I begin working on the upper layers of the building.
The scale of the boxes remaining there temporarily also helped give me an understanding of the correct scale to use when working on the windows, and to correct any mistakes when necessary.
Here are both of the ornaments that were created and included in the building. Some of the places they were put are less noticeable than some so below are some of the screenshots of where they are positioned.


For the tiling of the roof, I used the same modifiers as I did with the brick walls.
So for the modifiers to do the brick and tile details, I used a UVW Map for scaling the shape of each individual brick. By doing this, I inputted a displacement bitmap into the UVW Map which shapes out a gizmo which can be sized accordingly. For some of the maps, I genuinely just fitted due to their sizes and corners.
I then used a smooth modifier set to Auto Smooth to create a smooth surface. This ofcourse could be done in ‘Editable Poly’ but for it to be seen, the ‘Editable Poly’ modifier would be required to be above ‘UVW Map’ which it cannot.
I then used the turbosmooth modifier and set it to ‘3’ for for tiny details on the bricks and tiles.
And last but not least, I used a displacement modifier and uploaded the displacement map. I then selected ‘Use Existing Mapping’ to forward the shapes and details, played around with the strength, and panned the camera to the side to make sure there weren’t any large spikes coming from the wall and scaled accordingly to how I saw fit.


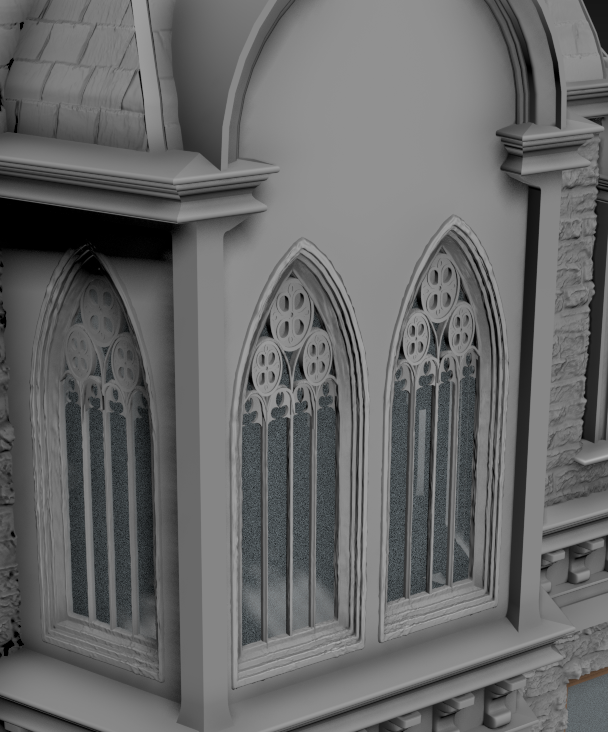
When I designed the top floor windows / attic windows, my original idea was to give them a fancier design concept inspired from christian architecture. This was to make the window seem polished and contain multiple ornaments for attention to detail.
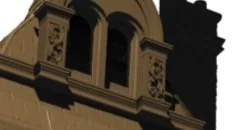
I eventually changed this because the church-style windows did not match the other windows on the building and the materials used. In the middle picture, I was checking to see if the new windows would work going slightly out of the wall. However, this seemed out of place especially since I would eventually be using a displacement map on the wall to create a brick wall design.
This eventually led me to my third option which came across as satisfactory enough to me. I also added window sills going out to not cause unnecessary gaps between the window and the wall.
So how was the geometry fixed?
I used a retopology modifier with the face count sent to default ‘5000’. Before this however I spent quite a bit of time trying to fix the geometry so that all of the joint edges could be selected by double clicking with my house to assure that the geometry was of the appropiate structure and ready for the retopology modifier.


I eventually converted the right-side front door and stairwell into a tunnel going through. This was to enable artistic freedom and increased usage if I decide to make this asset public.
I also wanted to decrease the amount of symmetry and will likely change things up before I place this into Unreal Engine 5.
This is the part where I began working on the door. For the door, I used the normal extrudes, insets and bevels going inwards and outsides and eventually chamferred the sharp edges for a realistic finish.
The same went for the mailbox and door lock. I did not create a keyhole as I felt like I could just eventually texture it on instead of using a boolean. This would help save frames by minimalising unnecessary polygons when using the asset in engine.
For the door knob, I used the line and went around and then used the ‘Lathe’ modifier set to 360.0 degrees.
Renders created (These were rendered with the Scanline Renderer in 3DsMax 2024)


High-Quality